Keep reading and we’ll show you how to do it!
What is High Key and Low Key Photography?
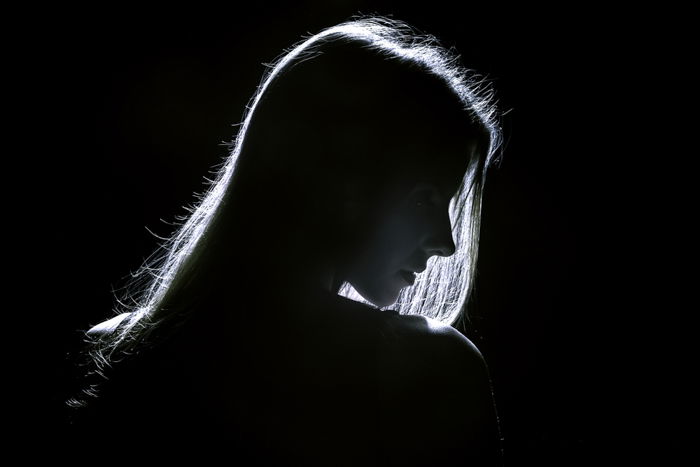
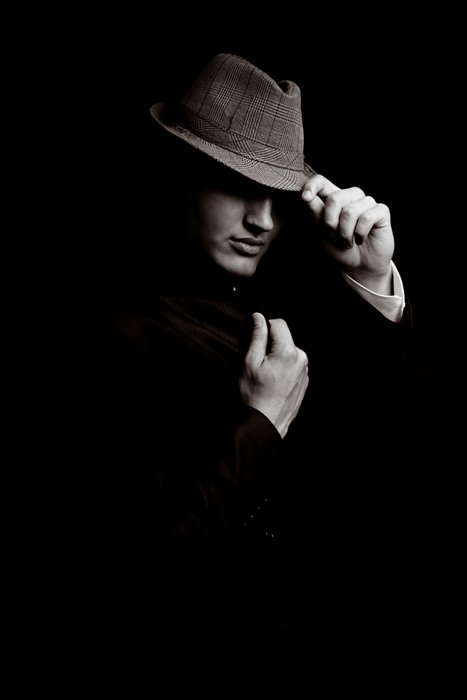
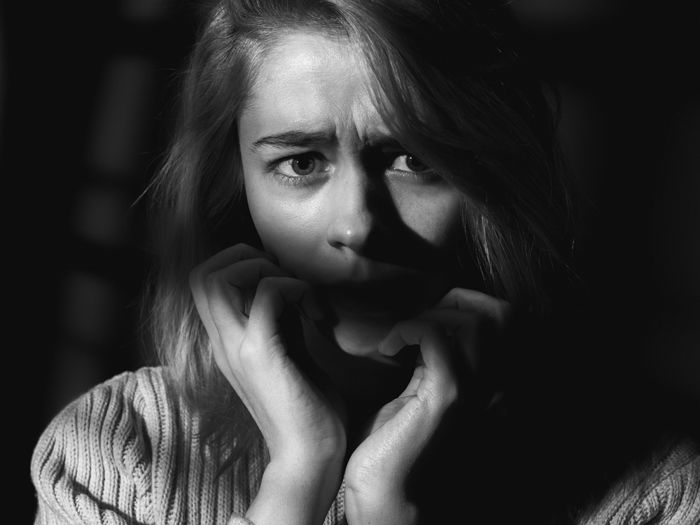
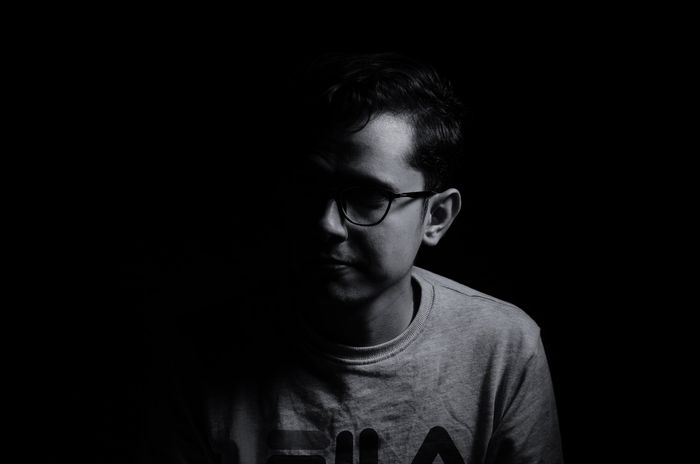
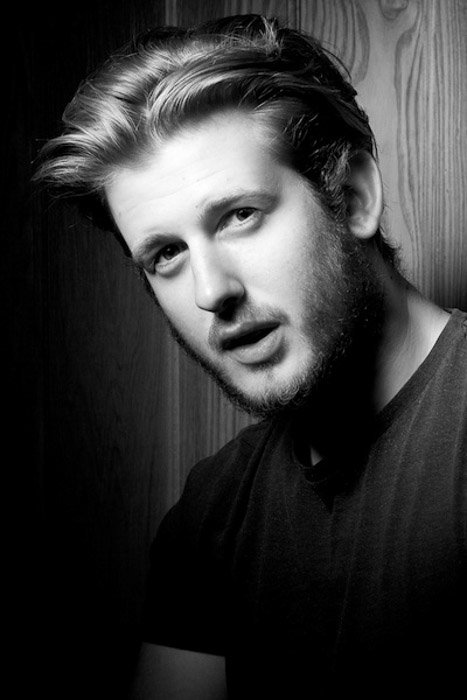
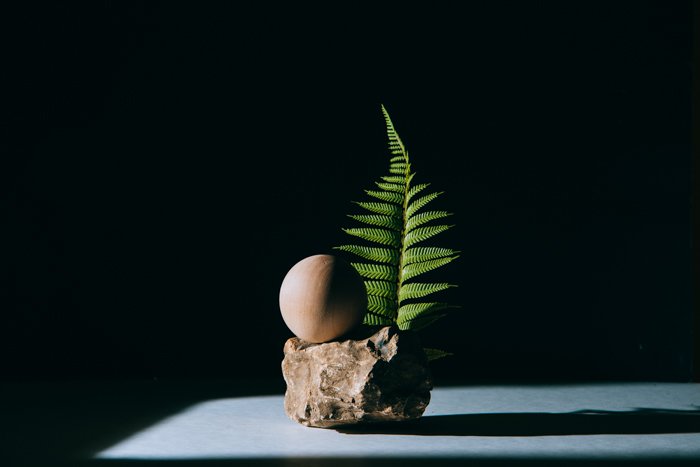
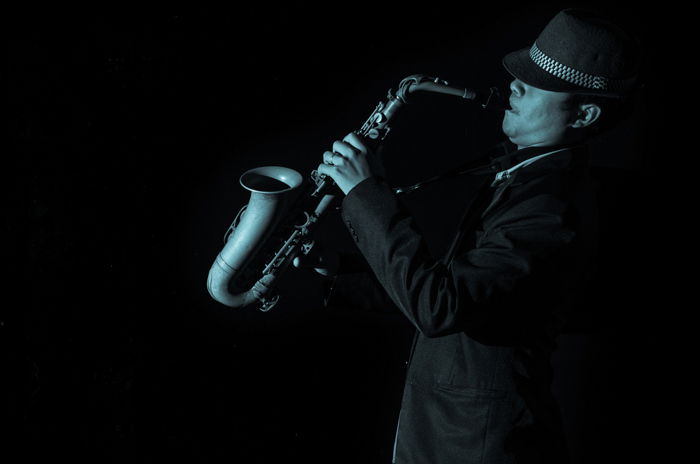
Before we begin our tutorial, let’s figure out the difference between high key and low key for lighting photos. High key lighting involves flooding the subject with light to create a bright image. Meanwhile, low key lighting mostly involves using directional light to create moody shadows on the model. In most cases, people use high key lighting to create a bright and vibrant mood. That’s why you often see it in advertising and television shows. On the other hand, people use low key lighting to create dramatic shots. You’ll commonly find it in still life photography and portraits.
How Do You Take Low Key Photography?
In order to learn how to shoot low key lighting, we have to understand different sources of low key lighting. There are two main ways to create low key light. The first one is using natural light and the other option is to use artificial lighting. Let’s see how these two methods work.
How Do You Use Low Key Lighting Without Flash?
The simple answer to lighting low key with natural light is to shoot by the window. Make sure your window only lets through minimal ambient light. If you see the light bouncing off the walls, consider using heavy curtains. This way, you can control the rays coming in. Draw in the curtains close enough until you only see a slit of light coming through into the room. Now ask your subject to walk into that sliver of light and stay there. Right away, you’ll see the light hitting their face while the rest is in the shadows. You can also use low key lighting outdoors. All you have to do is look for a ray of light against a dark background. If it’s sunny outside, you’re bound to see pockets of light that go through buildings and trees. Simply place your subject in the beam, and you got yourself an outdoor low key lighting.
How Do You Use Low Key Lighting with Flash?
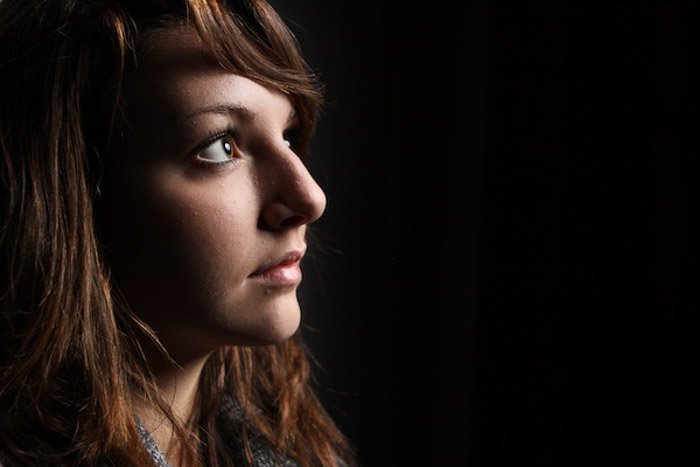
Low key photography often uses a single light source to keep dark areas in the image. So, to create low key lighting artificially, you can use a single flash as well. To make it easy for you, think of the flash as that beam of light from the window. And like a window, consider placing it above the head of the subject. Instead of positioning the light directly in front of the subject, move it about 45 degrees to the side. But feel free to experiment with the angle to create different results.
In the 35 to 45-degree range, you’ll likely get the Rembrandt or Loop lighting effect. And if you place the light directly beside the subject, you’ll achieve split lighting. To create adequate low key lighting, you should also angle the light towards the subject. That way, you can light up their face. For beautiful low key photography, I use a beauty dish on my flash to help me focus the light on the subject. But you can also try a simple Bowens reflector or even a softbox. Remember that you cannot attach any light modifier on the flash itself. To use softboxes and light dishes for low key photography, you’ll need an S-type bracket Bowens mount. Thankfully, it’s not expensive at all, and it’s easy to set up. Just screw it on to the flash head, snap on the softbox, and that’s it! Now, what if you don’t have any of the light modifiers I mentioned? You can just as quickly do low key photography with a bare flash.
What Settings Should You Use for Low Key Photography?
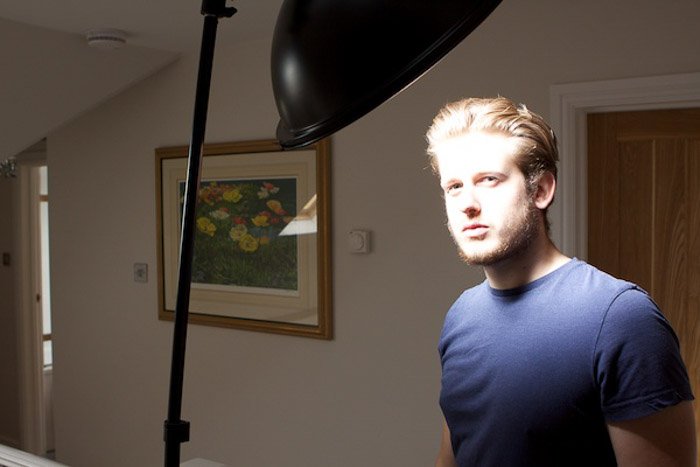
For demonstration purposes, I initially set my camera set to ‘Program Mode‘. Doing so gave me an idea of what the camera considers the correct exposure for this situation. I shot this sample image at 1/60 of a second, at f/4, and ISO 250 with the flash turned up one third. As you can see, it overexposed parts of the face because it metered for the light in the background.
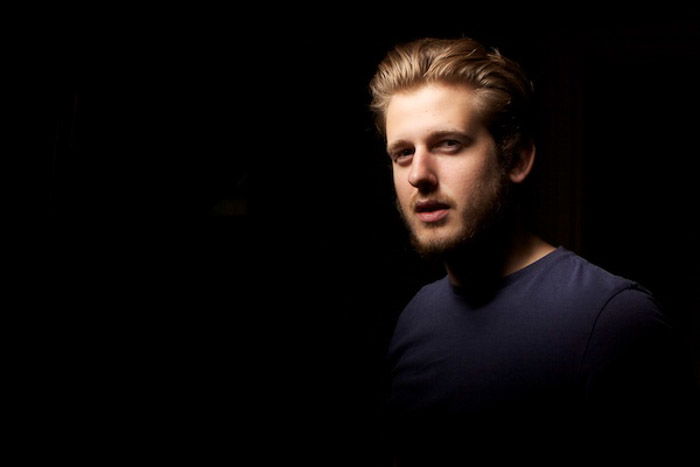
To avoid overexposure, set the camera into ‘Manual‘. Doing so allows you to control the settings to prevent overexposure entirely. For my low key portrait, I kept the ISO and flash compensation constant. To cut out the ambient light, I turned up my shutter speed to 1/1000 of a second and narrowed my aperture to f/8. Doing so allowed 1/64 less light in than before. Please note, that I used a High Sync Speed technique to reach this shutter speed. You might want to try using a LED panel for a continuous light to have similar results. As an alternative, you can also place a black paper sheet or fabric behind your model.
The camera captured the beam from my flash because it was very bright and direct. But because I cut out the ambient light using my camera settings, the background looks completely dark. This whole process is a fundamental feature of low key lighting photography.
How Do You Make the Background Look Dark?
Having a completely dark background is crucial in low key photography. As I mentioned before, you’ll need to use proper settings to cut the ambient light in the room. In most cases, using fast shutter speed and a narrow aperture does the trick. The only problem is that you have to adjust those settings manually. So how can you be sure your settings are enough for your low key portraits? Start with your aperture at f/8 and shutter speed at 1/125th. Take a photo without a flashgun and check if the image is entirely black. If not, keep going up until everything in the frame is pitch black. Once you add the flash, the only thing you should see in the picture is your subject. To speed up your low key lighting set-up, use a light meter, instead. All you have to do is place the meter in front of the model and set off the flash. Look at the recommended settings on your meter and use those values to adjust your camera.
Experiment with Low Key Lighting for Unique Results
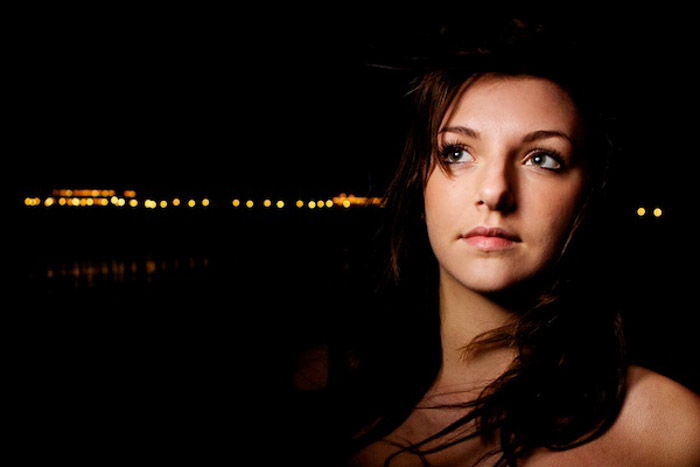
If you want to make sure that the photo remains low key throughout, keep your subject away from any background, which may interfere with the shots. To create a low key background, have your subject stand at least six feet away from the wall. It will also help if the backdrop you’re using is already dark. That way, you don’t have to set your shutter speed too fast to achieve low key lighting. Adding some (limited) background detail can look quite cool if you’re experimenting. But keep in mind it’s not technically low key photography. With high key images, the dark areas are instead, light. With high-key images, this comes from having more than one light source, or including fill light. This lighting effect is the opposite of the one you would use for low-key images.
I used a similar technique to what I described previously for the photo below. I decided it would be a good idea to include the faint lights on the pier behind. Doing this made the picture much more enjoyable. Again, not technically low key lighting, but the concept still applies.
How to Use Low Key Photography in Other Situations
Once you grasp the low key lighting technique, you can apply it to a lot of different situations. Apart from using this effect on people, you can also try it on objects, or even food!
Food Photography
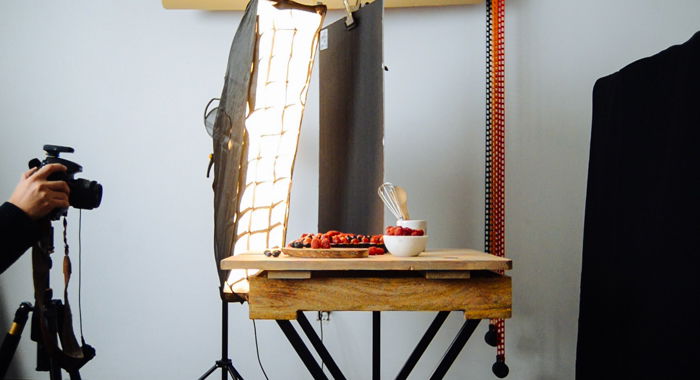
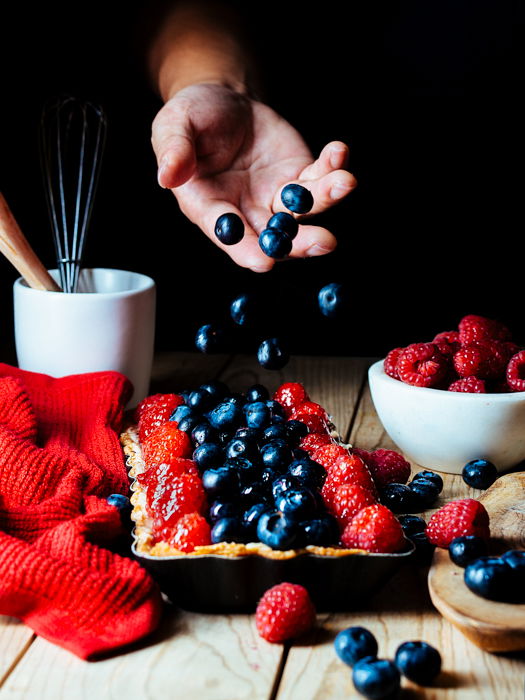
It may seem a bit unusual to use low key lighting on food. But the effect this technique creates on food photography is quite dramatic. So how did I create a low key lighting set-up for the image below? First, I used a black curtain to cover the white wall behind me. Since I was going to be in the shot, I also wore a black sweater. For the light source, I used a gridded softbox over a flash. Using the grid prevented the light from spilling onto the background. It also focused the light onto the fruit tart.
Once everything was ready, I placed my hand in front of the softbox and dropped the blueberries.
Still Life Photography
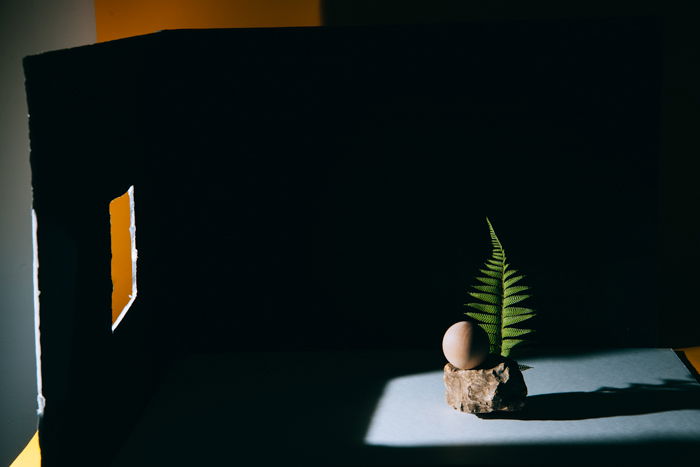
You can use the same low key lighting concept for still life as well. But let’s try something different for this example. To create this image, I used a bare flash to produce harsh shadows. But to prevent the light from spilling everywhere, I placed black cardboard in front of the light. It has a hole in the middle to let the beam through. In photography, we call this a gobo.
In simple terms, a gobo is any translucent or opaque material you can use to shape the light. And that’s what my cardboard version did in this image. It forced light through a tiny hole and prevented it from hitting the background. You can buy gobos commercially. But in general, most photographers just create and customize them themselves. In this case, I used foam boards because they’re cheap and effective. You can see how mine created a straight beam that hit the subject but not the background.
Apart from still life photography, you can also use gobos when doing portraits or even food photography. So don’t be afraid to try it to improve your low key photography.
Gig Photography
Gig photography is a prime example where you’ll come across a lot of low key photography. Not only because you’re using a flash but because the lighting designer has decided it looked best with very little light. The beauty of shooting gigs is that you’re always working with controlled lighting – one less thing to worry about. You don’t need expensive gear and external flash units to take a photo like this.
Conclusion
Most people can easily stumble upon low key lighting randomly. They could, for example, be visiting a church and discover a light beam shining down from a high window. But low key lighting can be challenging to produce if you don’t know what you’re doing. But once you understand the process behind it, it’s quite easy to reproduce and you can use it both inside and outdoors. Looking to learn more about how to pursue a career in portrait photography? Why not check out our ebook Profit from Portraits next!


